Diese Anleitung ist auch in Deutsch verfügbar ![]()
Making a sphere is said to be the supreme discipline at the lathe. It requires a lot of exercise to master this task. That’s why many wood turners buy a sphere cutting jig to make the task easier. Producing a truly round sphere without any devices and jigs is left to the real masters amongst this discipline.
That is utter nonsense!
Turning a sphere without any additional devices is actually very simple. You really do not have to invest in expensive equipment if you are reasonably skilled with the turning tool.
The following pictures show how I do it. To be honest, I could not find some of the steps which I am proposing in the internet- even after a long search. That makes me wonder. All the hints that I have seen, even in the newest videos from professionals, require much more training and skill.
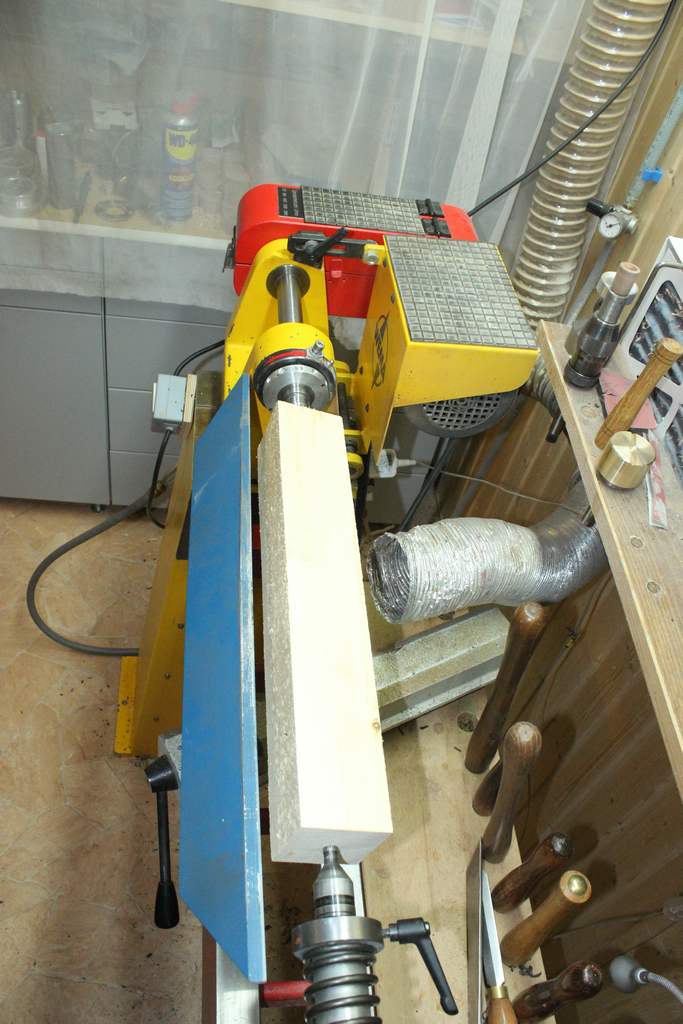
I start with a squared timber – here using Swiss pine 80 x 80 mm.
Of course, you may use a shorter piece. However; if I do it, I do it right and produce some extra blanks.
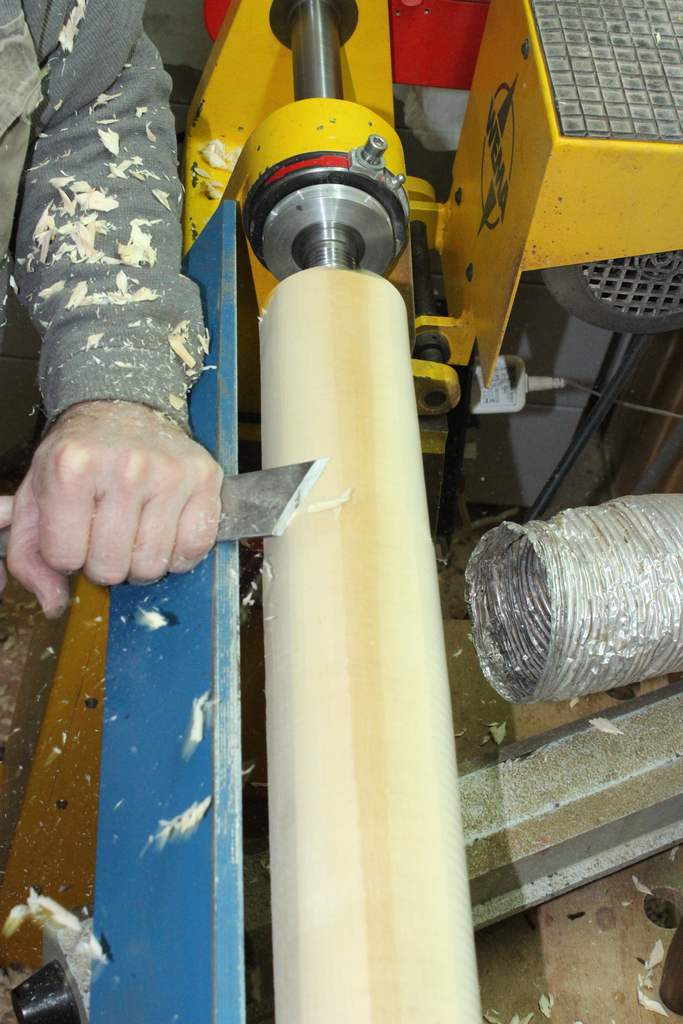
First of all, make it round!
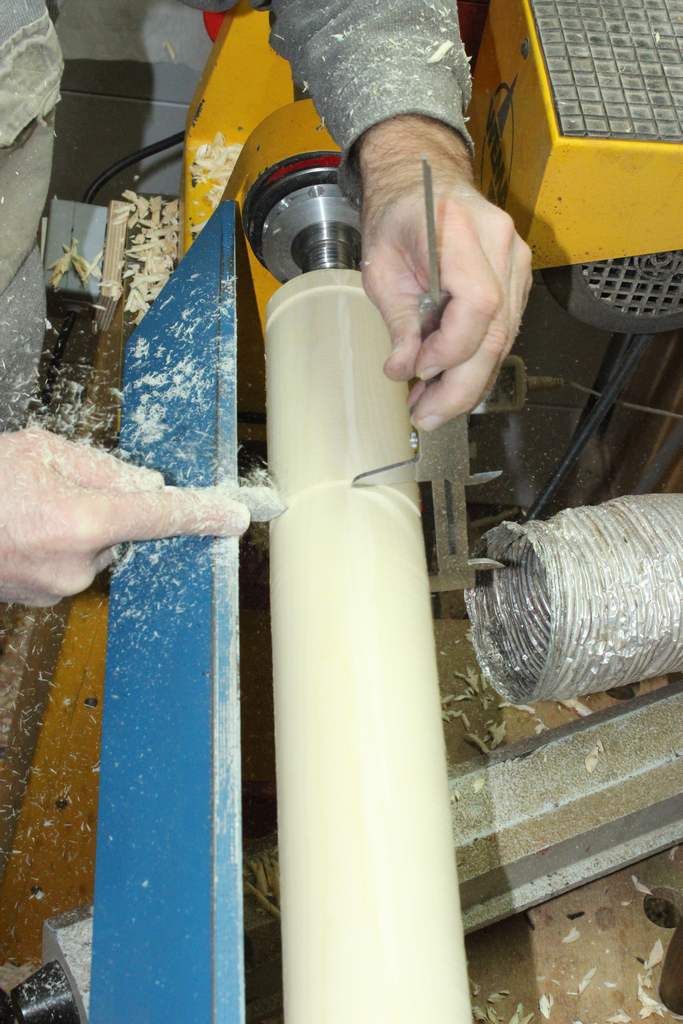
Please note: The cylinder must have an even, round shape! Therefore I adjust the slide gauge to 76 mm and spread some dimensionally accurate grooves across the role.
Now I turn the cylinder as precisely as possible towards these grooves.
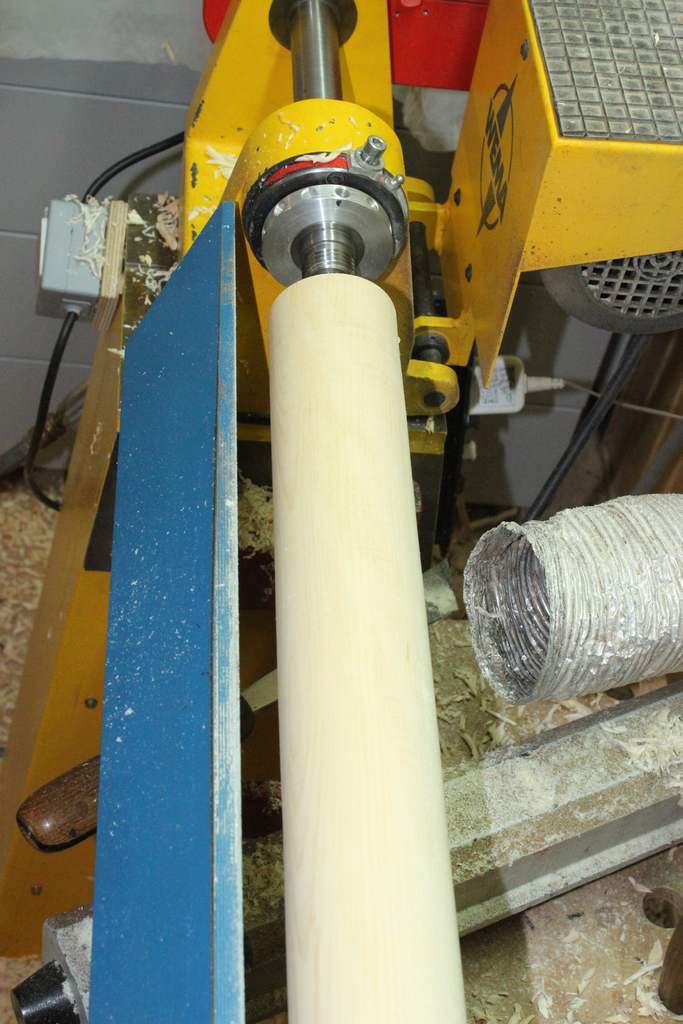
That’s how it should look like:

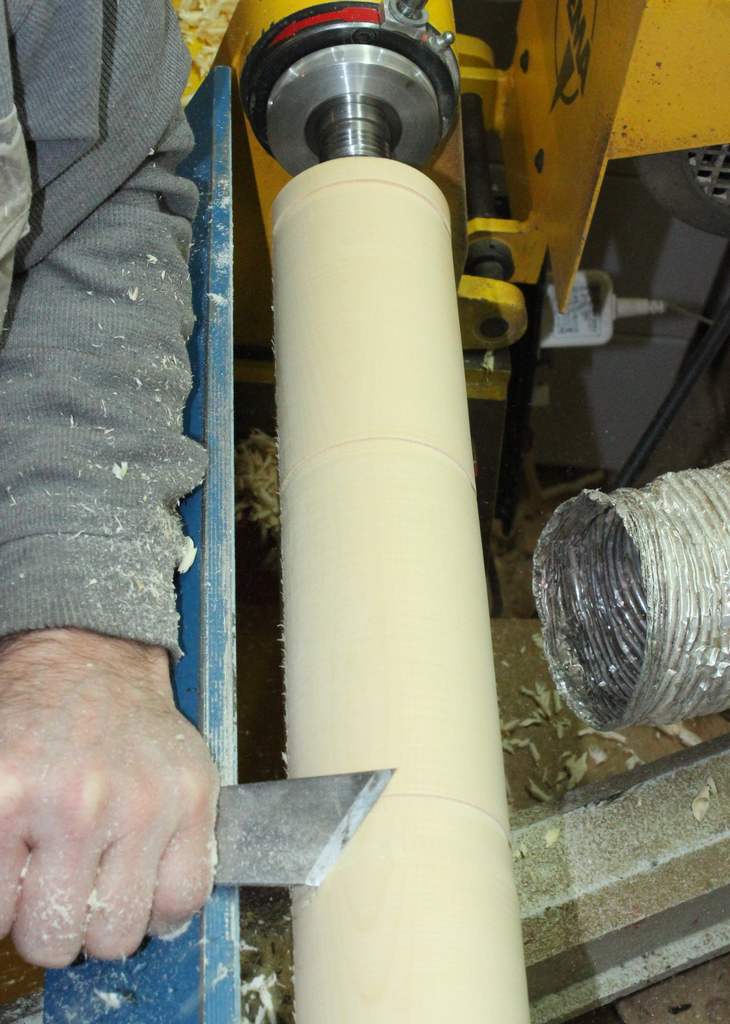
Now adjust the stop of the circular saw to the diameter of the cylinder.
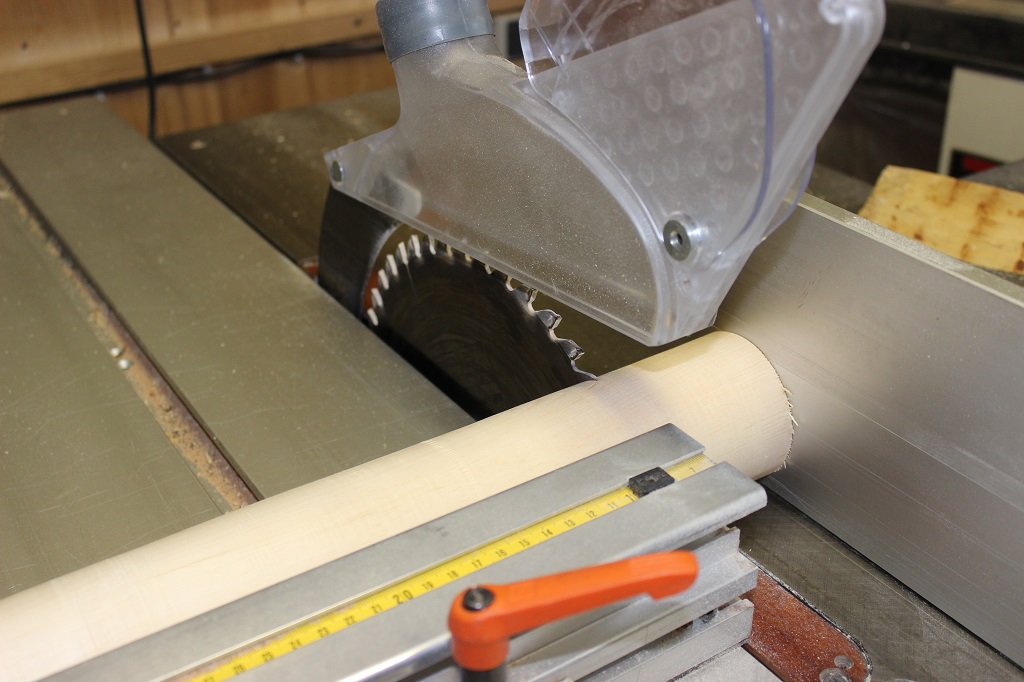
After that, I cut the roll in pieces. Their length always corresponds with their diameter.
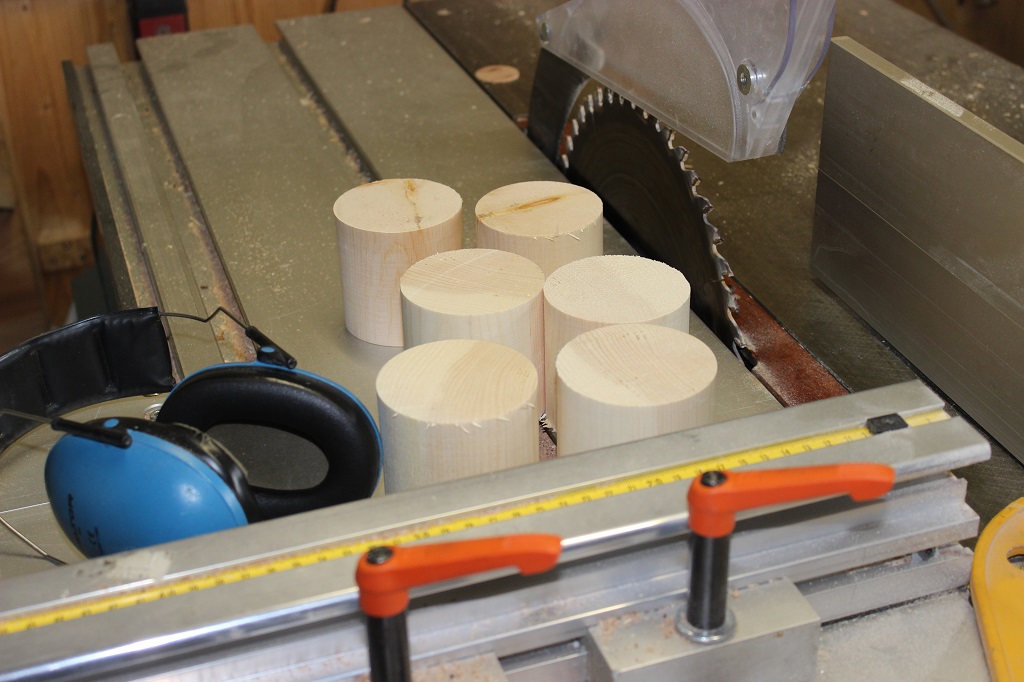
That is how it should look like, 6 blanks for 6 even-sized spheres.
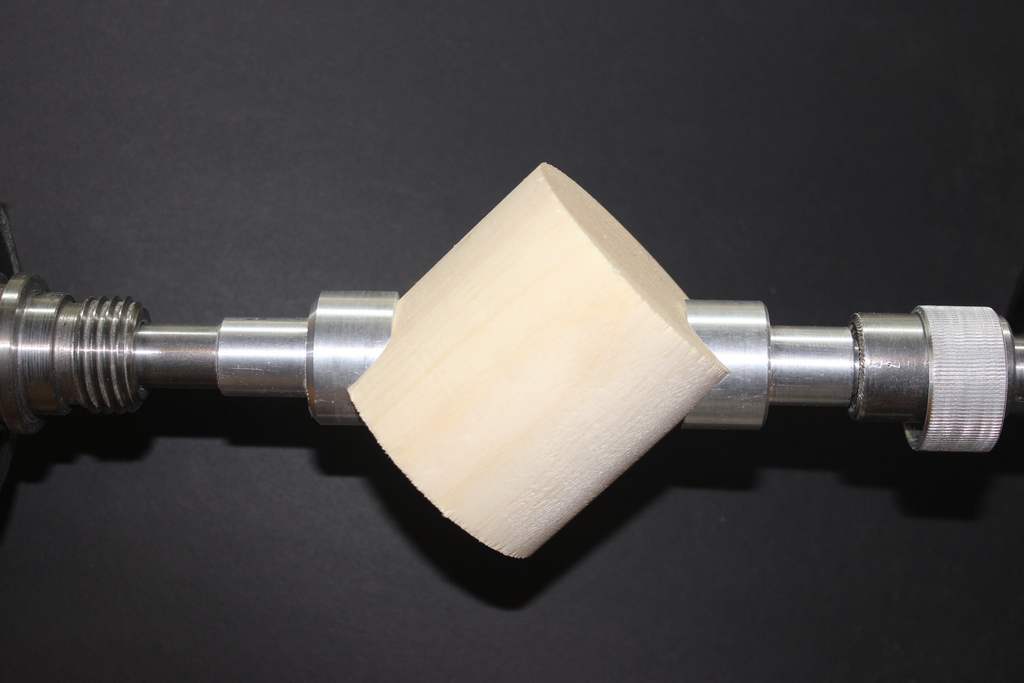
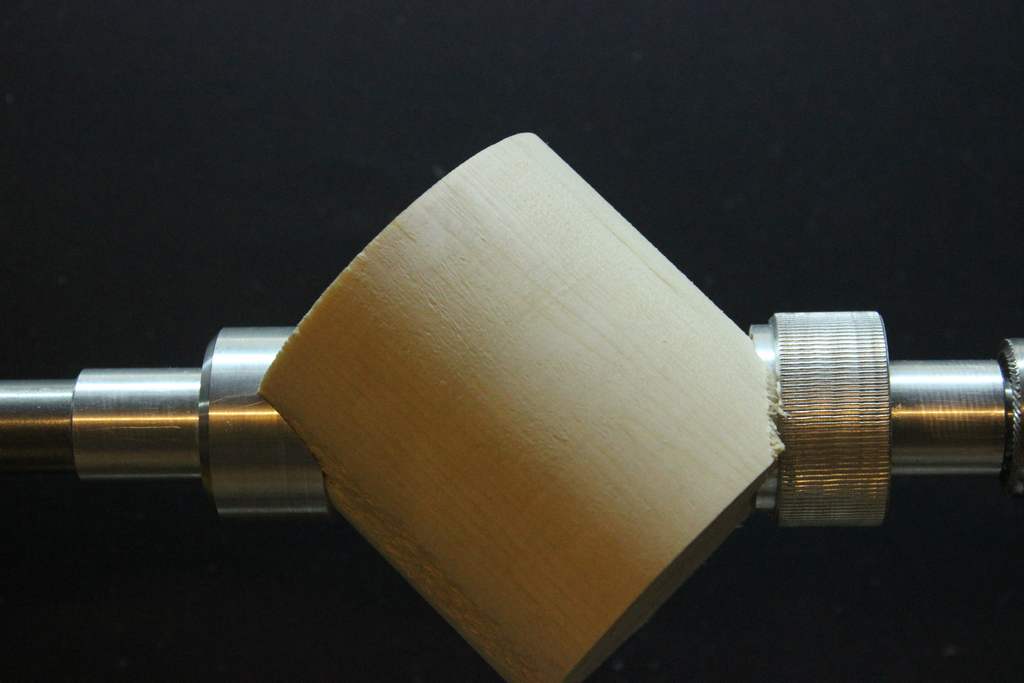
Clamp the blank diagonally between the „tips“. Be very precise!
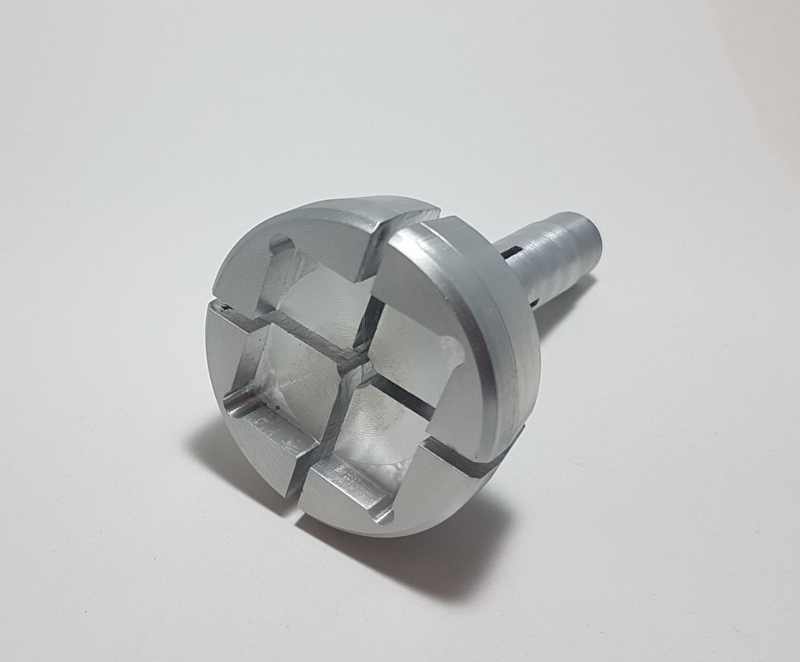
For this task I have designed a special clamping device allowing a positive-locking of the cylinder.
A carrier with a matching counterpart forms the basic framework. Both with Mk2 socket.
Please do not forget the ring shown at the far right in the picture. We will need the ring later on! Otherwise you have to unclamp the work piece again.
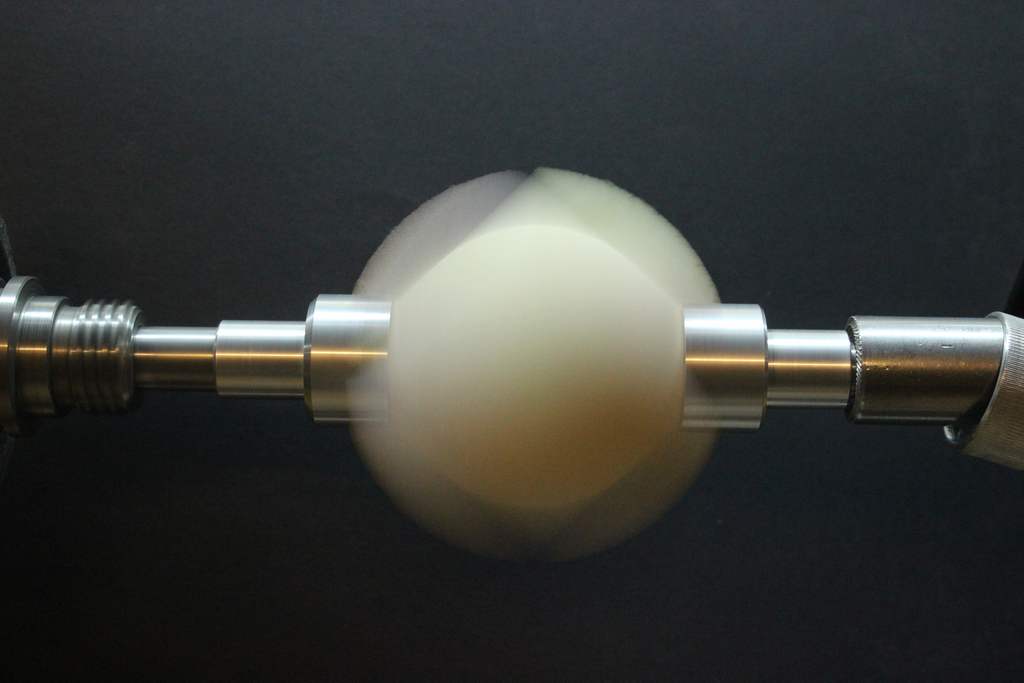
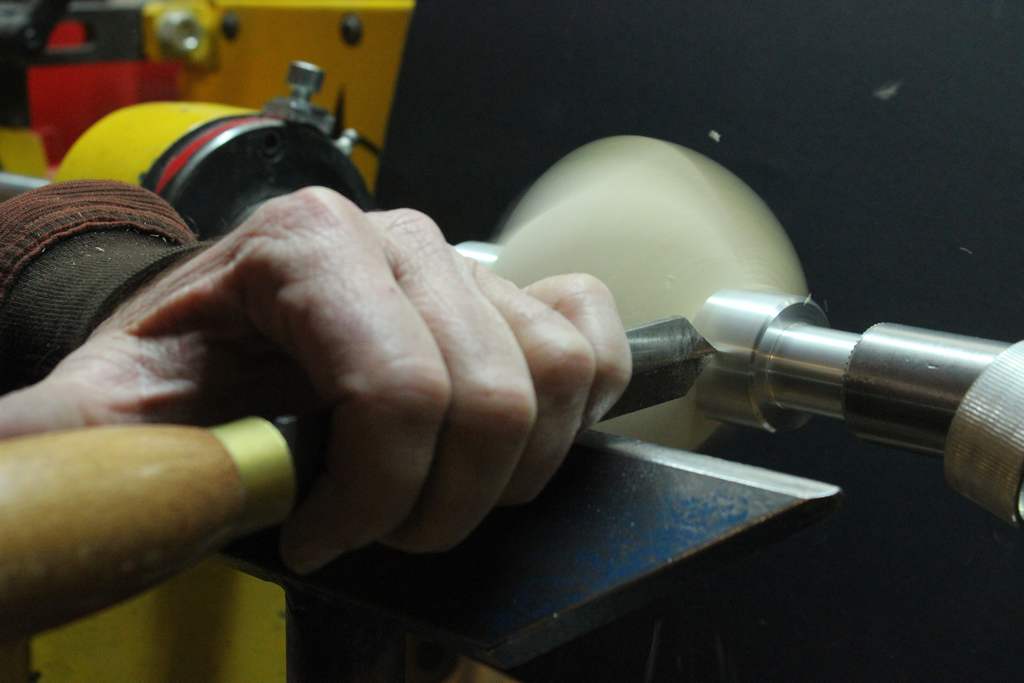
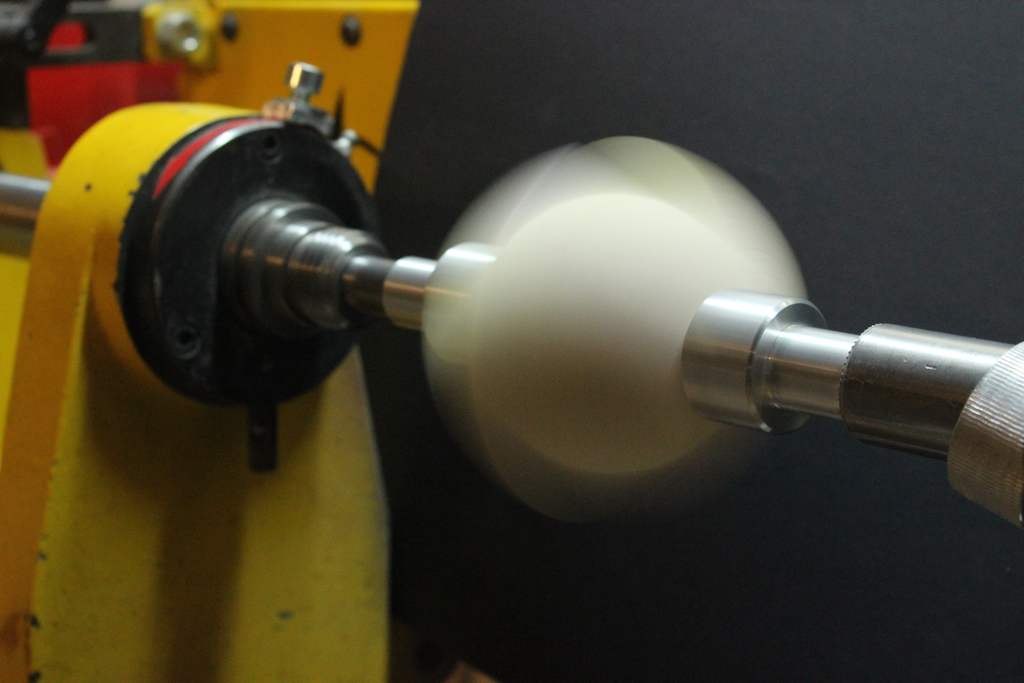
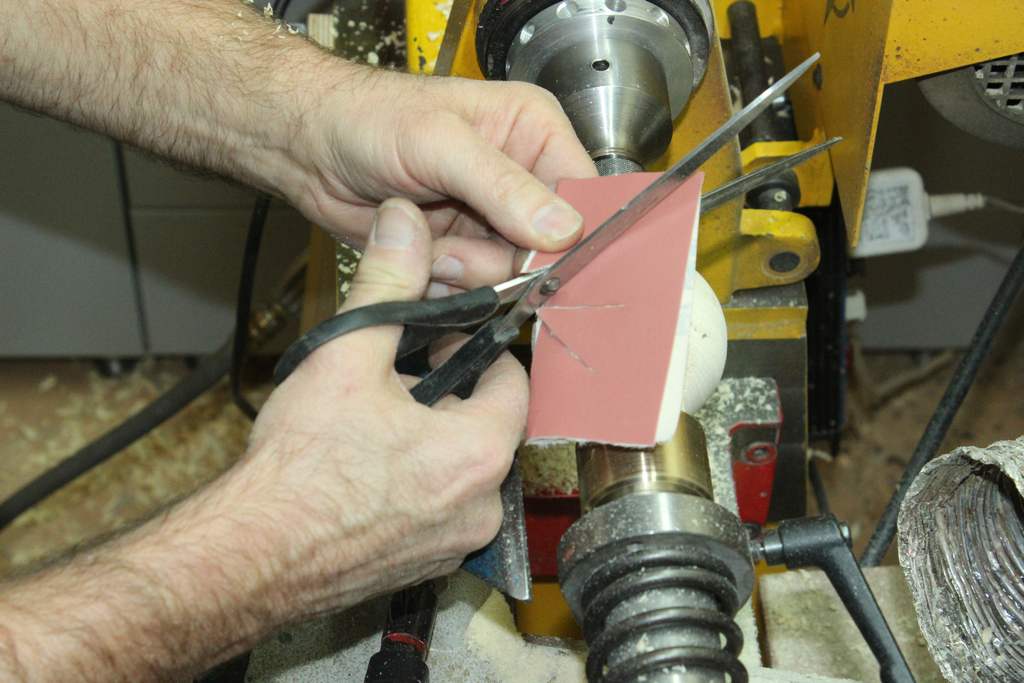
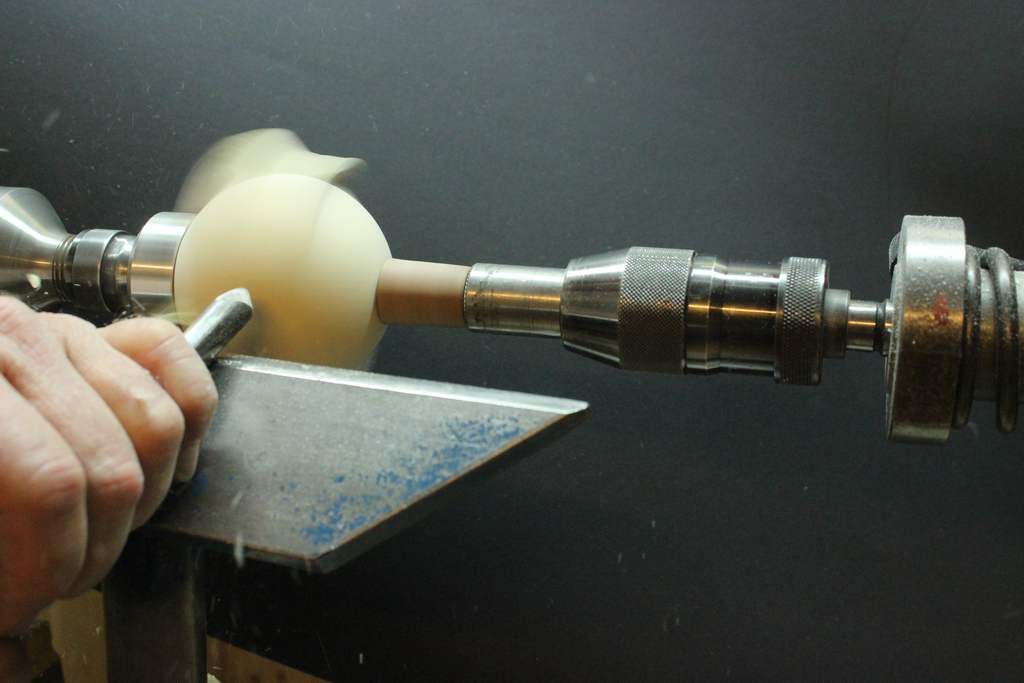
Due to the fast rotation of the work piece shadows will appear. You may use these shadows as auxiliary lines.
Here again a more precise picture of the process. It was quite a challenge for the photographer and me.
The shadows show a big sphere, two straight lines which meet at the upper sphere-shell and the upper part of a smaller sphere, which is running into the two straight lines.
To be on the safe side, you need this clamping ring which is momentarily hanging loosely on the tailstock.
Now turn down the blank on the right side, using a parting tool.
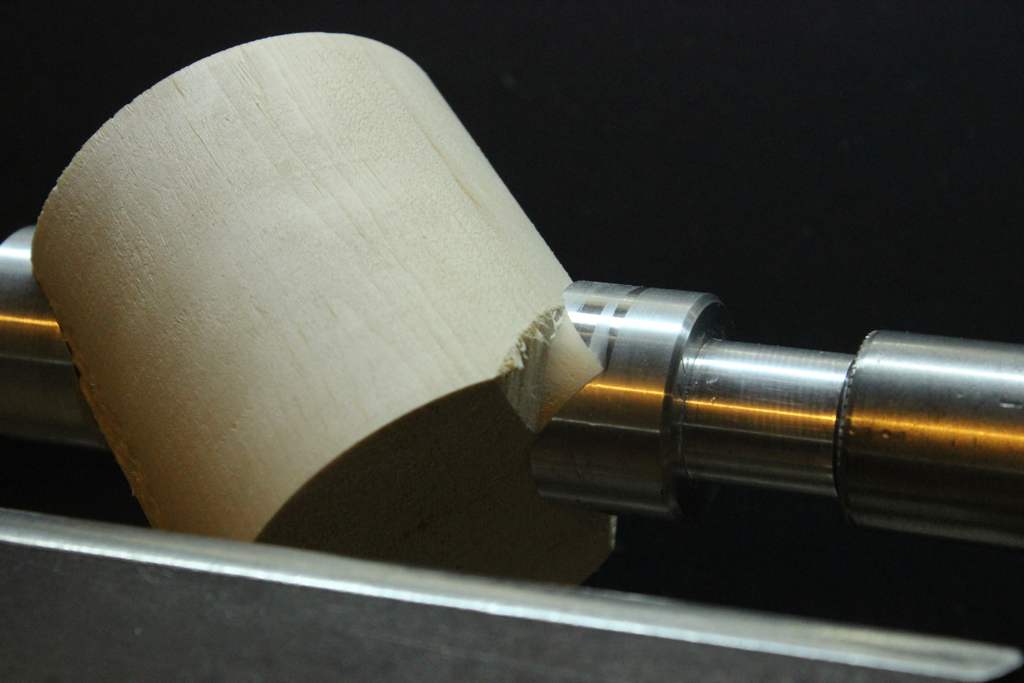
That’s how it should look like!
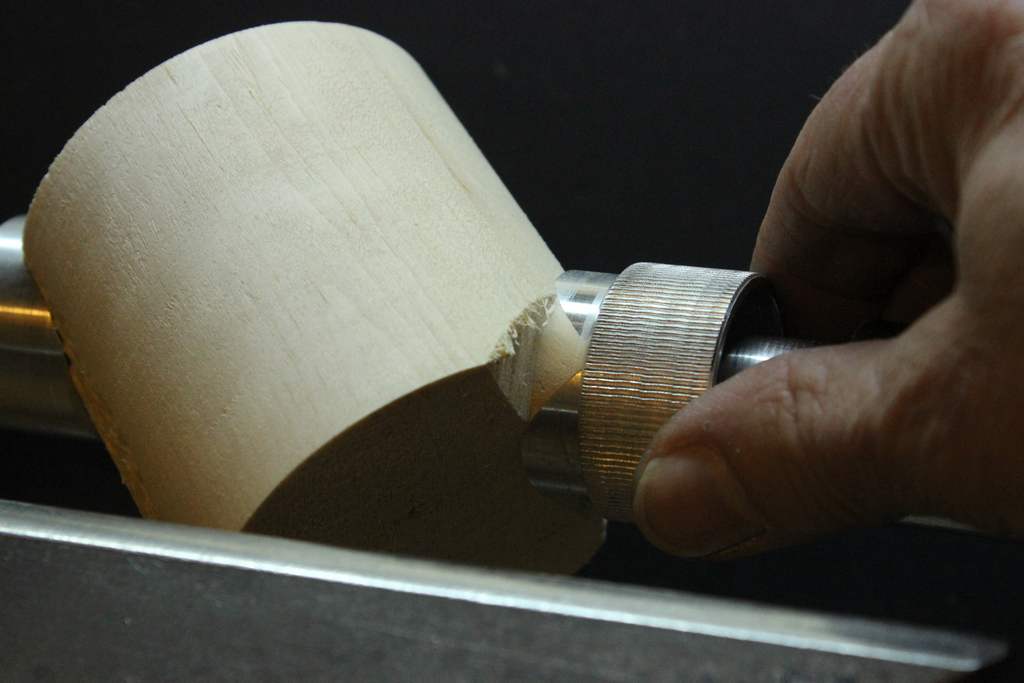
Lock the clamping ring tightly into the turned corner piece. This will prevent the wooden cylinder from coming loose. A second clamping ring on the left side is not needed.
Now the actual turning process may begin.
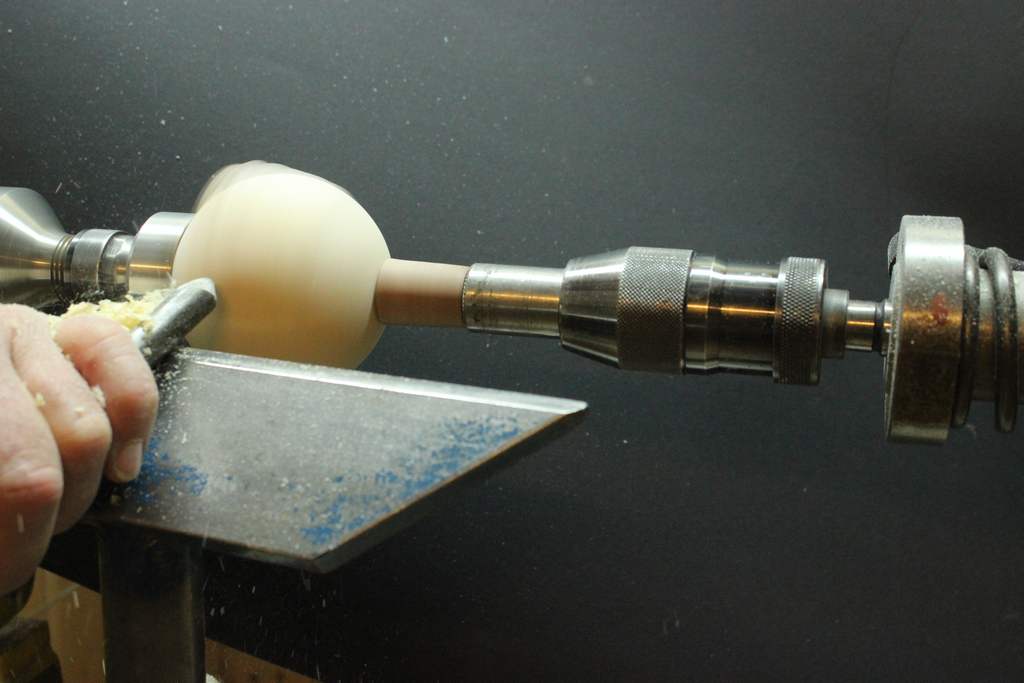
We now turn the work piece towards the clearly visible inner sphere, respectively the two straight lines.
You do not only see very precisely where adjustments have to be done, you can also hear and feel it.
Actually, you can’t make any mistakes. You can see, hear and feel where some adjustments need to be done.
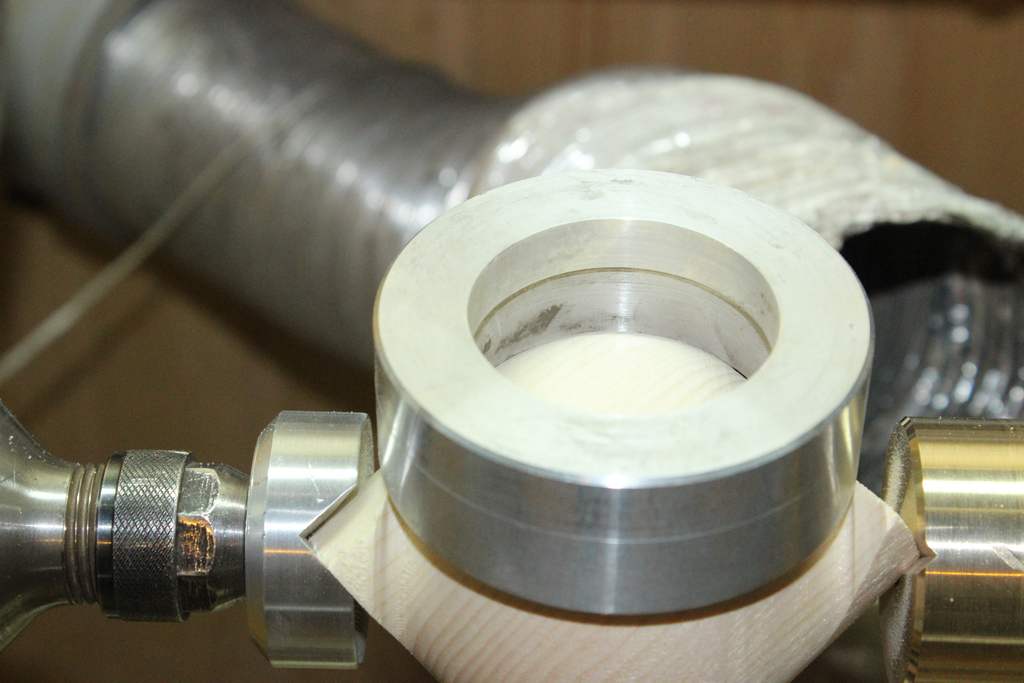
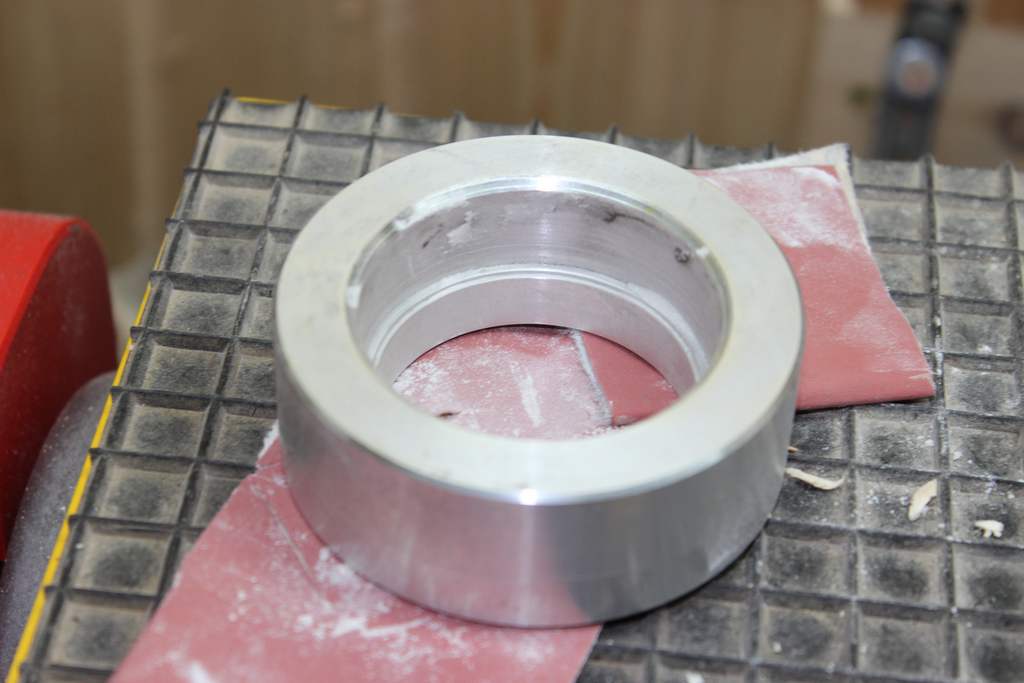
Place a ring on the sphere to detect inaccuracies.
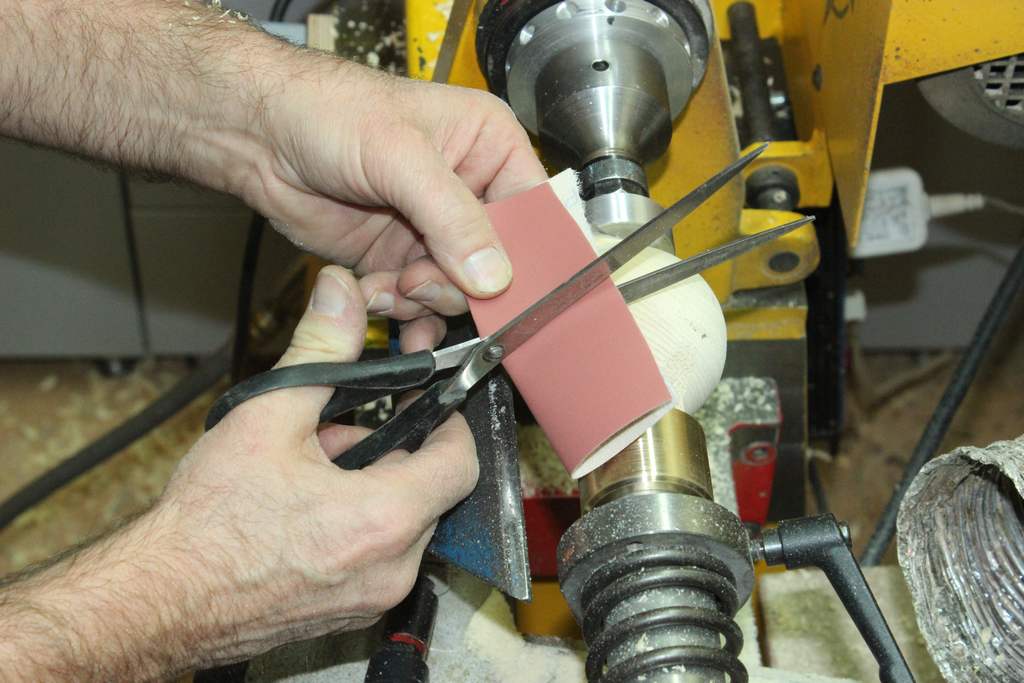
I take a piece of S240 abrasive paper, fold and cut it.
Fold it the other way around and cut it 3 more times.
Using the metal ring, I press the pre-cut abrasive paper on the work piece shaping the sphere segment even more accurate. This will allow precise clamping of the sphere later on.
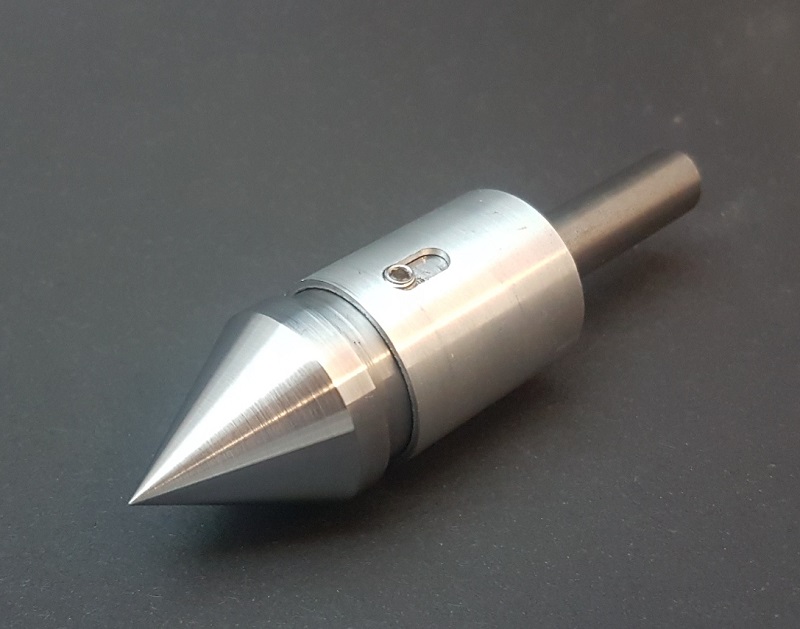
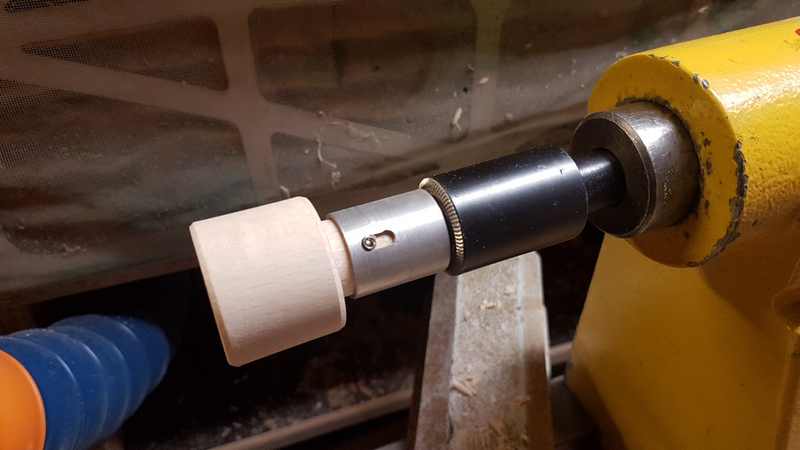
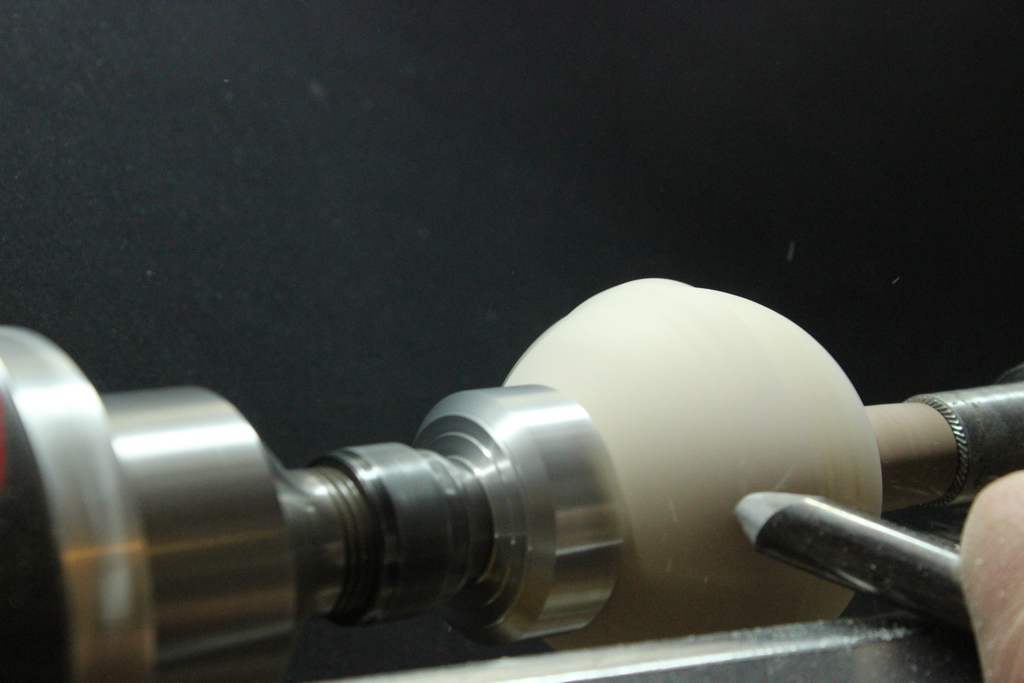
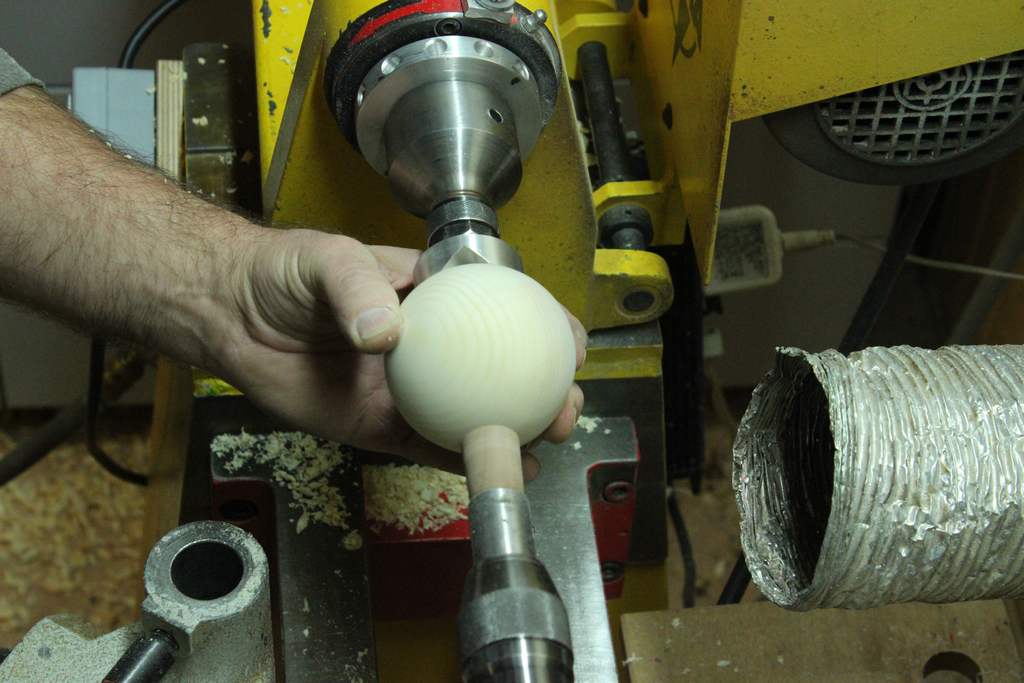
The sphere now is fixed into the tailstock by a revolving wooden lathe center, which has a slight inner rounding to prevent the work piece from denting.
You can see exactly where adjustments have to be done when the lathe is revolving.
Now I turn the work piece towards the clearly visible shape of the sphere.
Here again:
It is very simple. You can see, hear and feel where some adjustments have to be done.
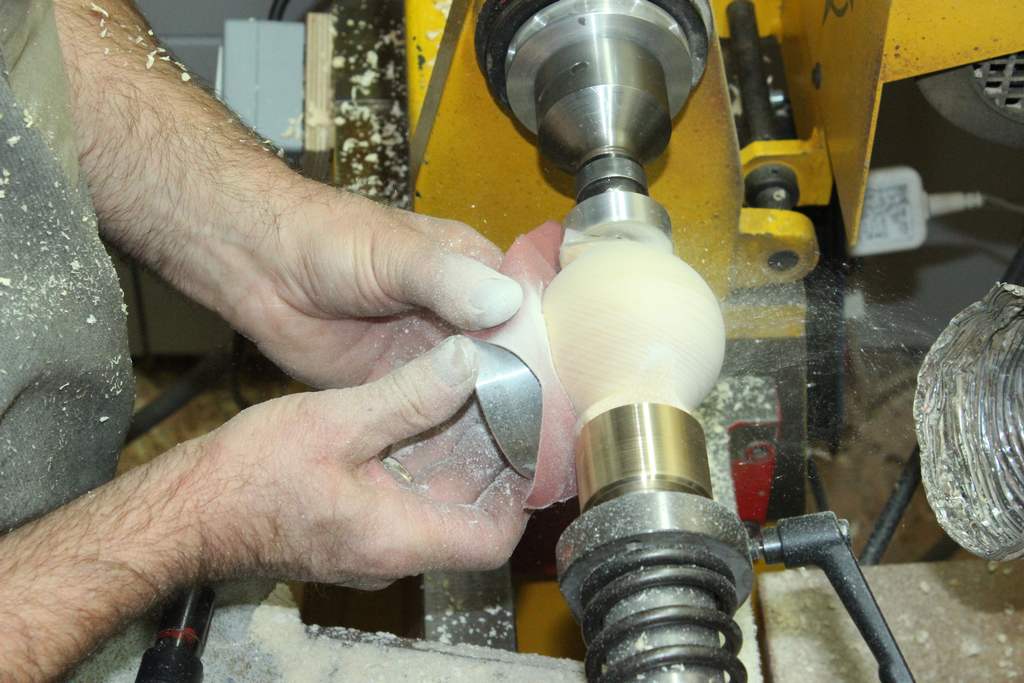
Now some finishing operations,
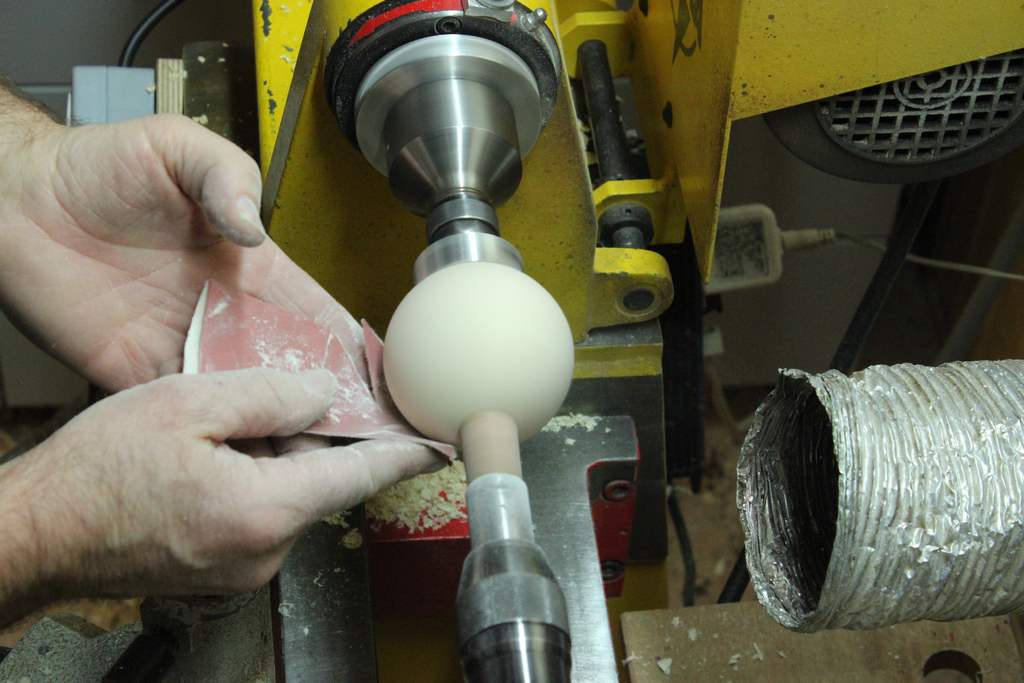
The S240 abrasive paper will do the rest.
You need to turn the sphere a few times in order to sand the work piece evenly.

The intensity of the sanding process of course, is up to you.
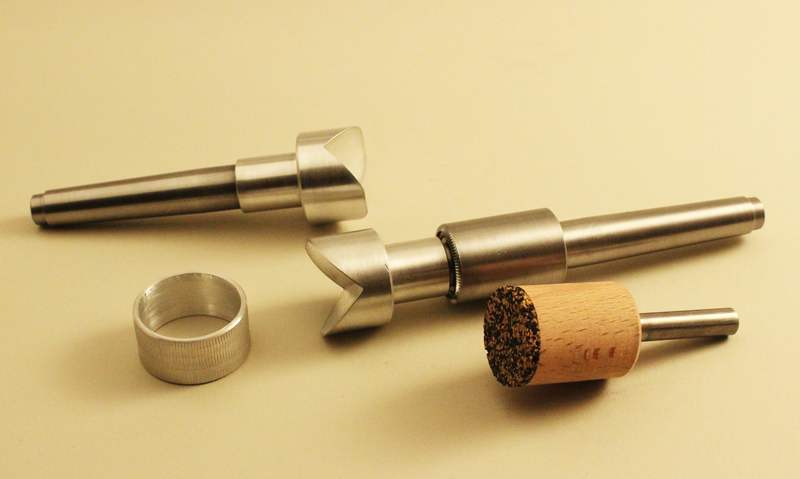
Here are the tools I have used during this process:
The carrier and the ball bearing mounted counterpart at the tailstock. Both parts clamp the cylinder with high accuracy.
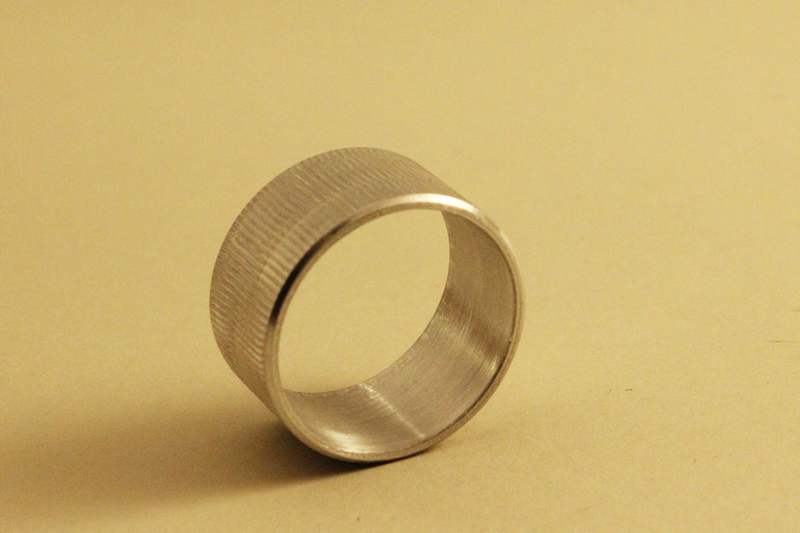
The clamping ring prevents the wooden cylinder from getting out of place.
The device for the ball bearing, coated with a mixture of cork and rubber to press the sphere into the chuck without leaving any dents.
I use a metal ring to press the abrasive paper onto the sphere; you may as well use a wooden ring.
You can easily turn it yourself.

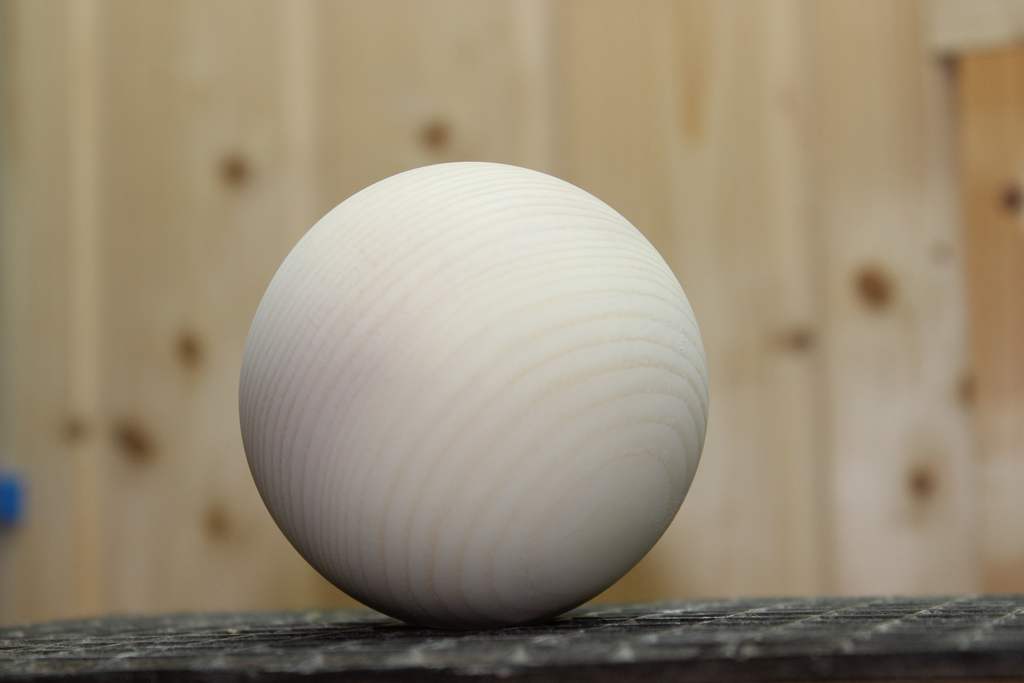
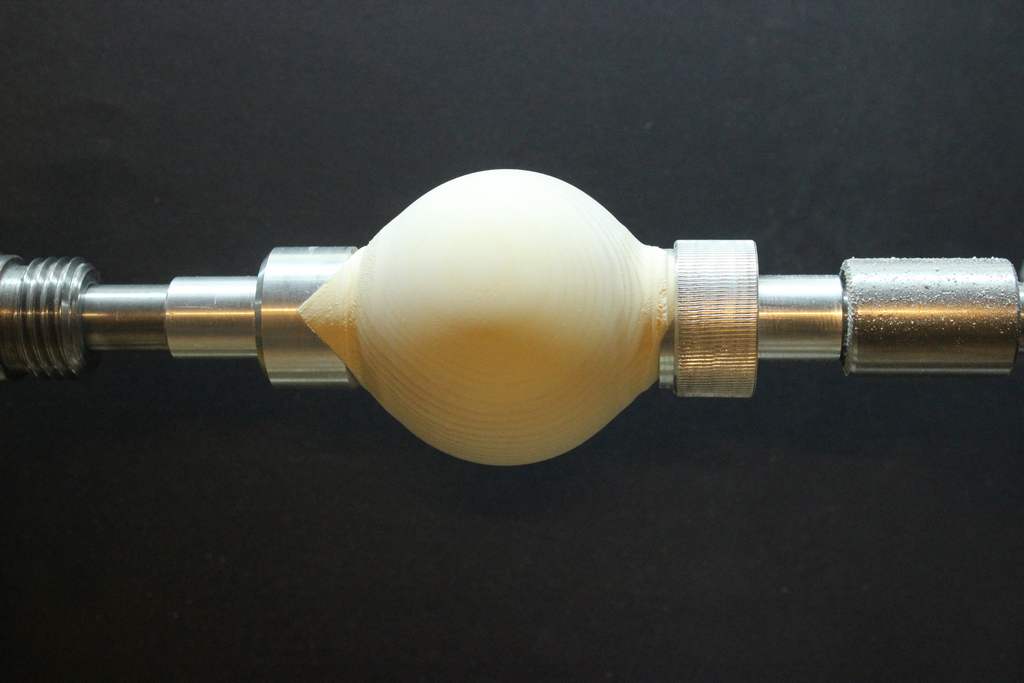
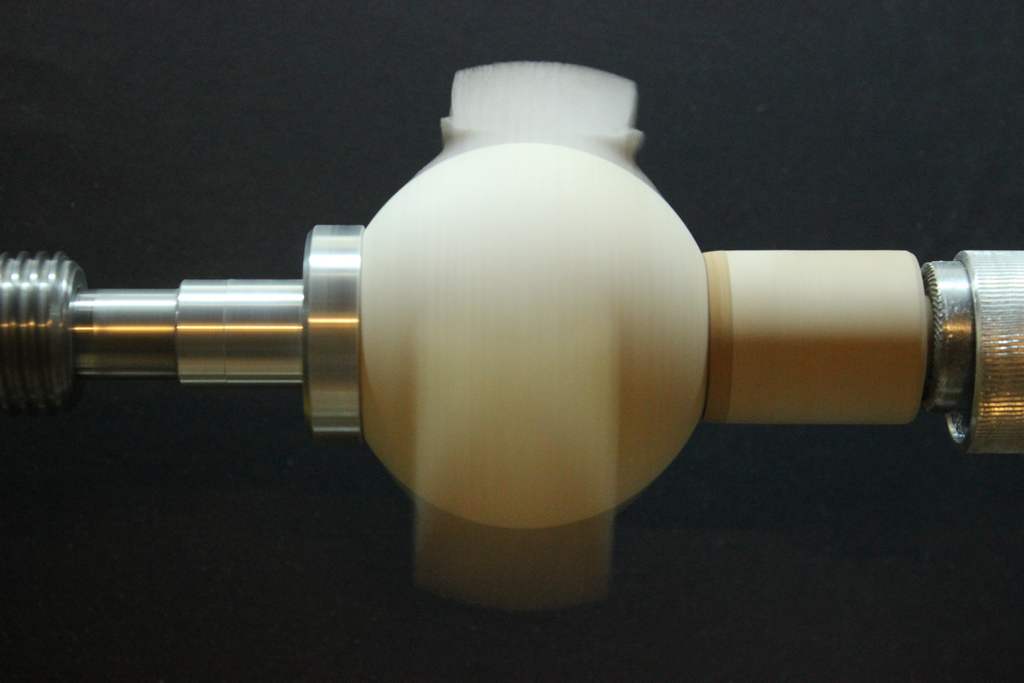
And here is the result! A Swiss pine sphere with a diameter of 74 mm,
Remeasured: plus – minus two tenth of a millimetre. I can live with that!
And now the steps in the context as a video:
Die Spannvorrichtung gibt es inzwischen bei den Werkzeug – Angeboten