(Die deutsche Version dieses Berichtes gibt es unter https://drechsler-wissen.de/drechseln-eines-schmuckanhaengers/
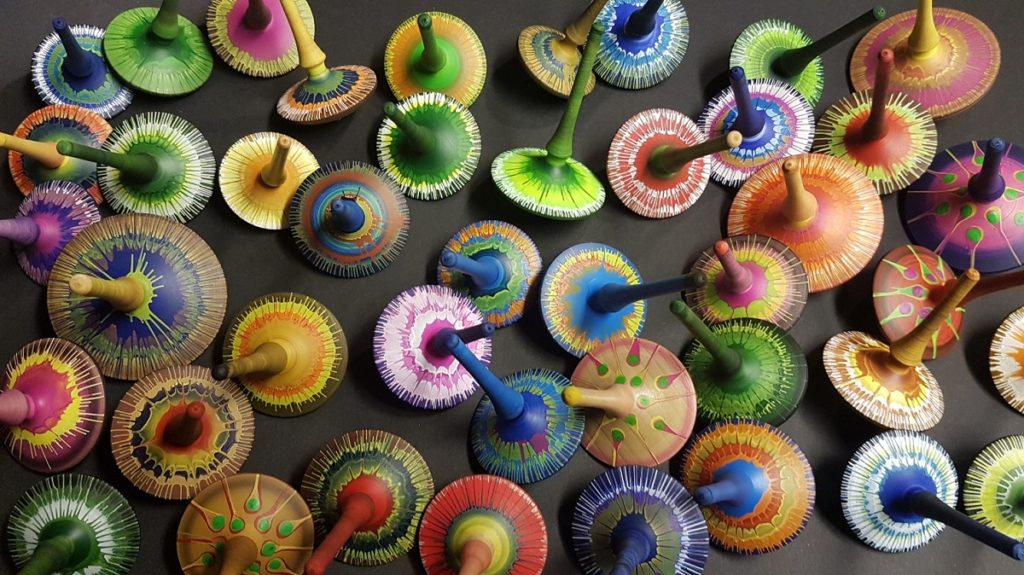
In this capital I will show the turning of an eccentric-lattice floral pendant. I used the same blanks and equipment as described it the „https://drechsler-wissen.de/step-by-step-instructions-for-turning-a-latticed-pendant/„. Since I am not willing to describe the method over and over, I recommend that you read this article prior you start.
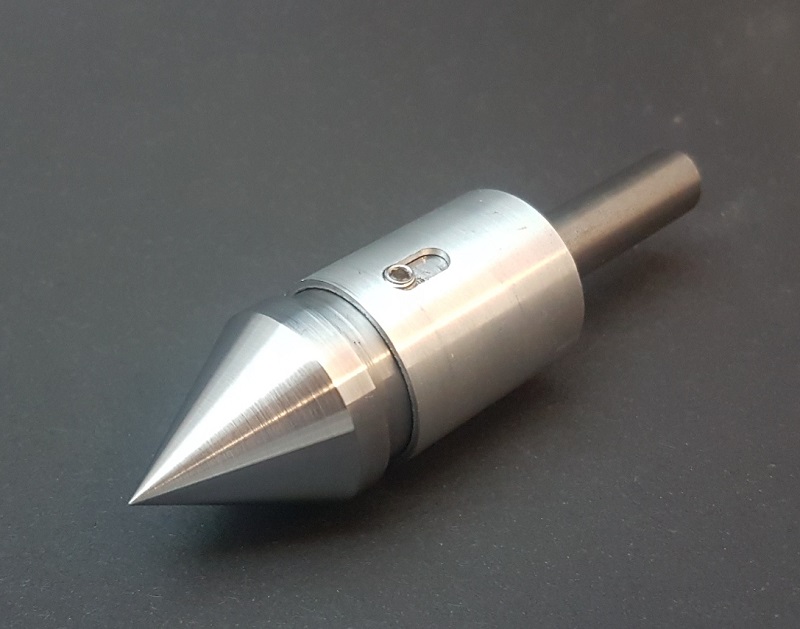
Of course you might choose your own method of mounting the blank.
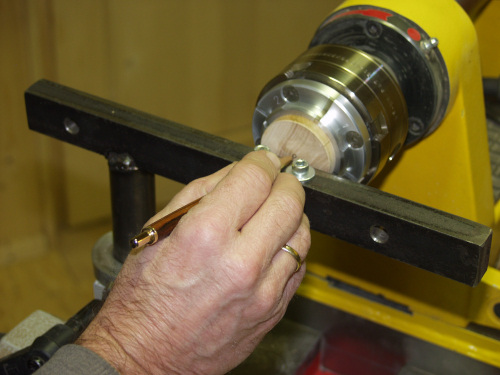
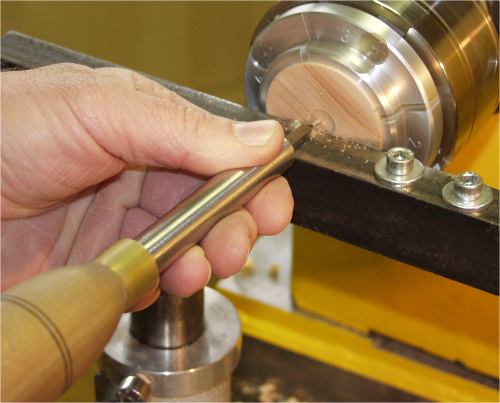
Mount the blank and mark the center.
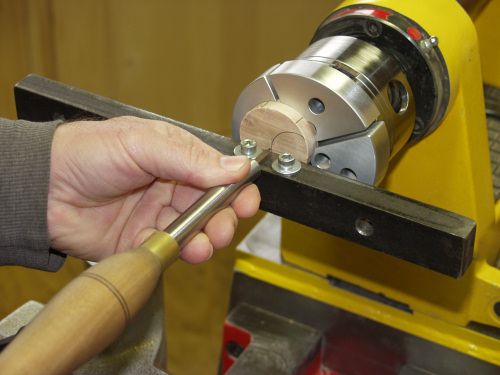
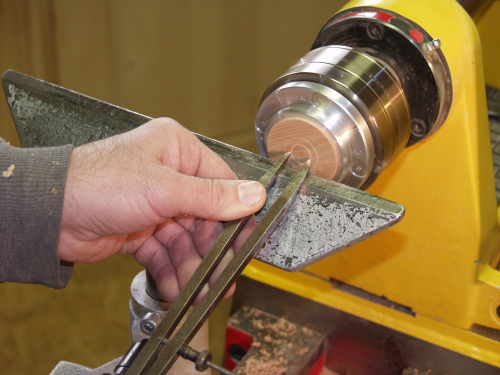
Divide the blank by six, leaving sections of a 60 degrees angle and mark the sections on the outer edge, for mounting the blank properly. Apply two screws in the tool rest as stoppers for the cutting tool.
Cut two spheres. The larger sphere will be set exactly on center. The smaller sphere will be a next to it on the right side.

Now move the blank 60 degrees. To assure accuracy put a mark on the edge of the chuck, which must be matched with the mark of the outer edge of the blank.
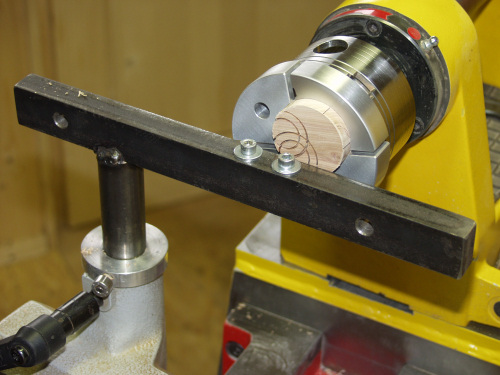
Again cut two spheres, then move for another 60 degrees, etc.
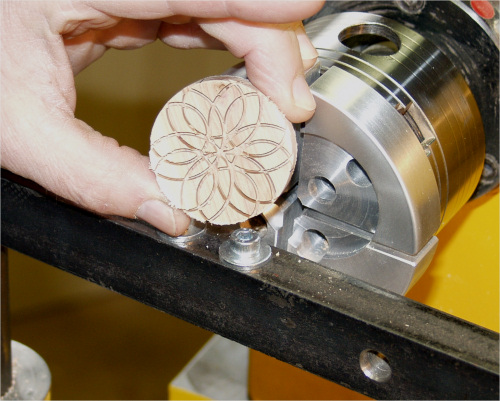
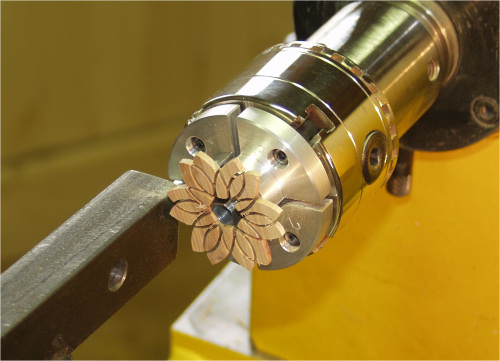
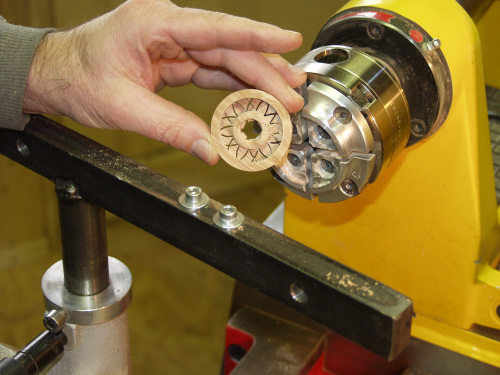
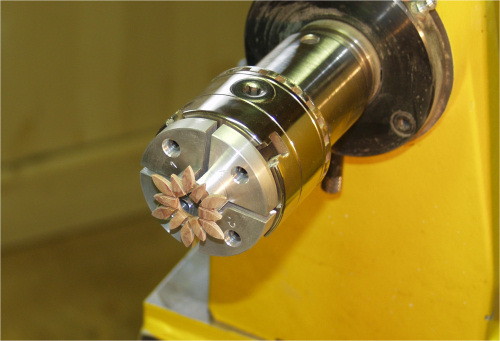
This image shows how the front of the pedant should look like.
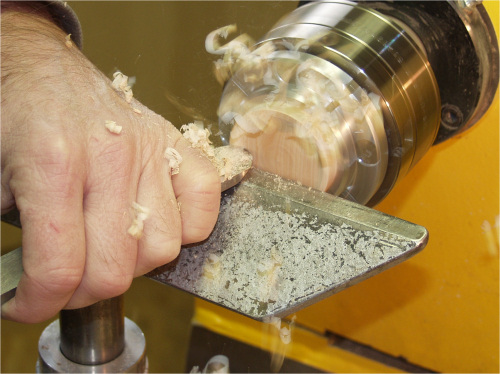
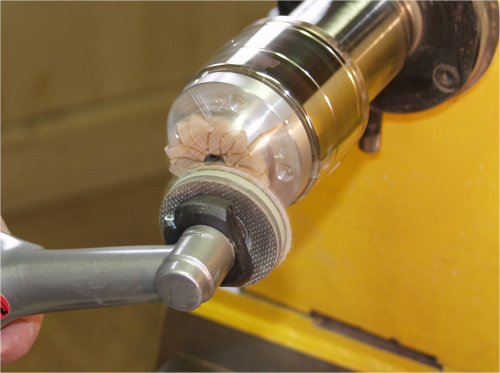
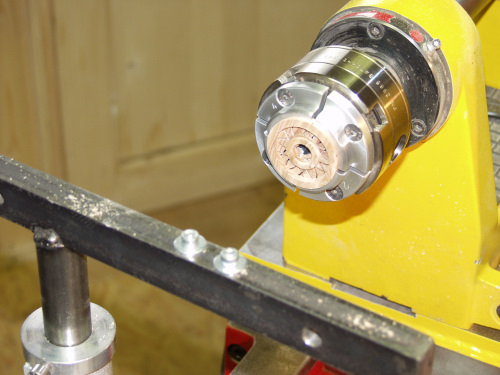
Mount the blank with the concentric jaws and turn the back of the blank.
Start from the center and carefully turn off the material until you reach the grooves of the front side.
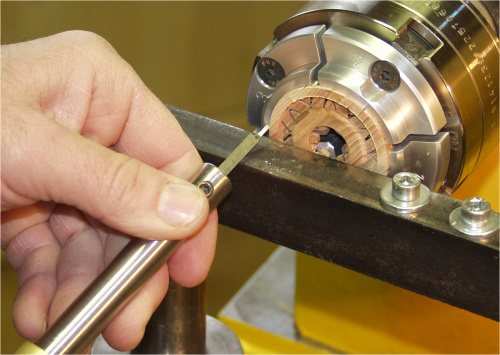
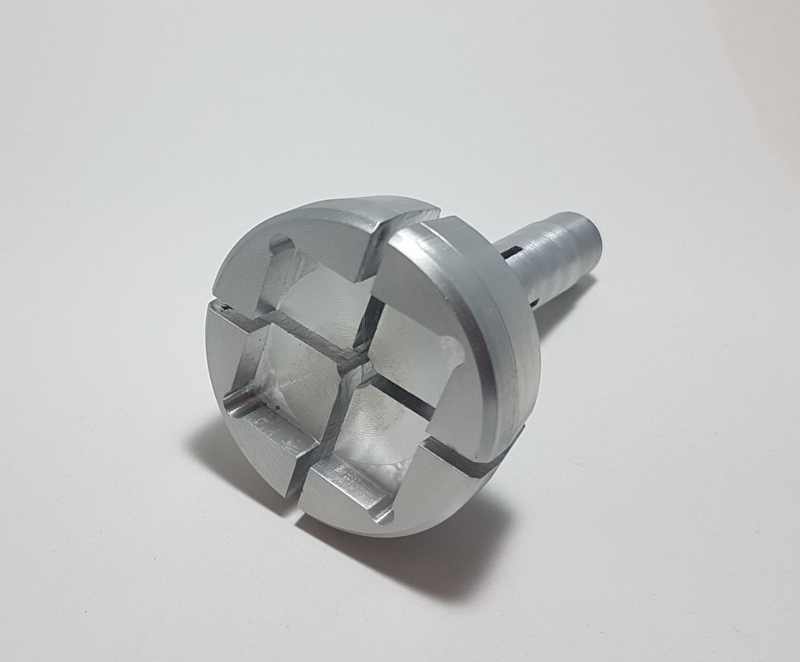
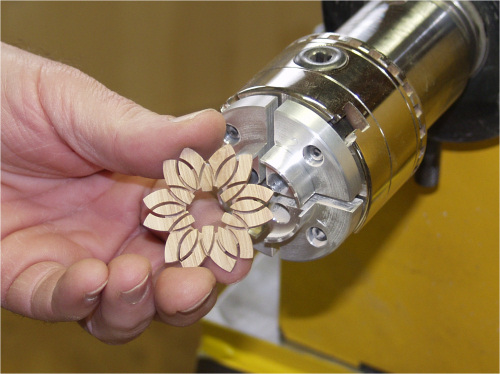
When you reach the grooves, the inner part of the center will fall off. Leave a ring, which is holding the „separated parts“. Leave a second ring on the outer edge of the pendant. But make sure that the outer ring will tightly hold the tips of the star.

This image shows how it should look like.
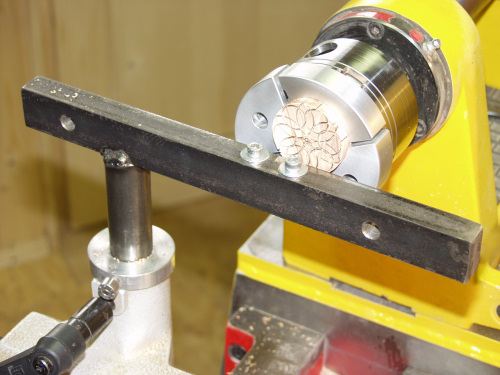
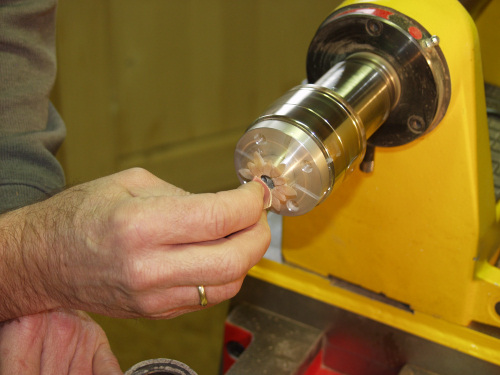
Mount the back of the pendant with the groove jaws.
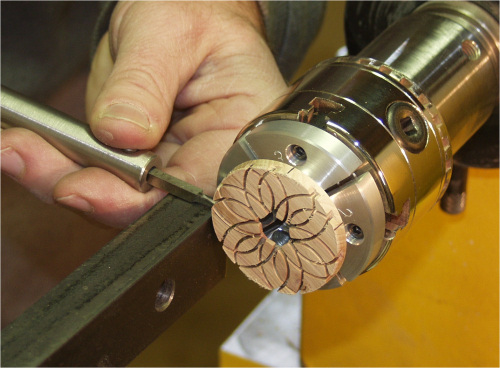
Move the tool rest to the side and turn off the outer ring of the pendant. Small chunks will be cut off, therefore make sure you wear eye protection.
Again this is how it should look like.
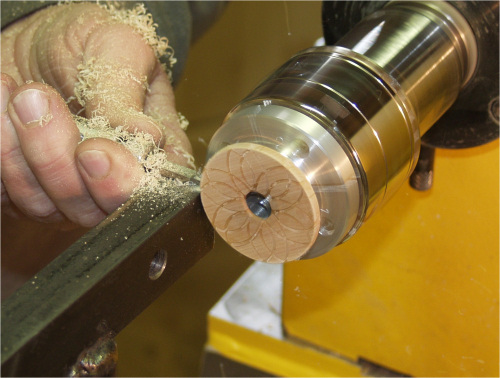
The turned pendant
Now the pendant looks straight and flat, which does not really look attractive.
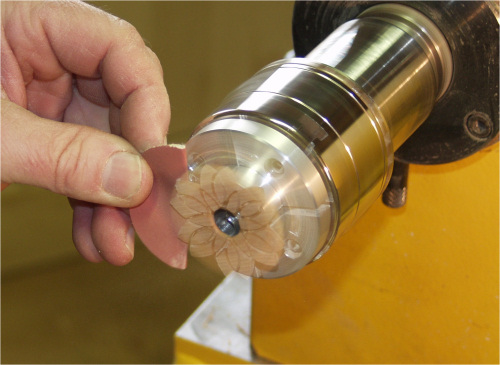
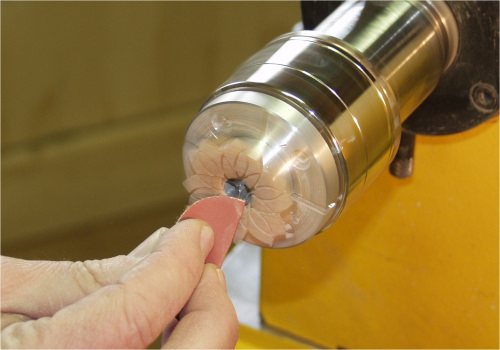
Sand the back of the star. Hold the sand paper in a way that it will not catch.
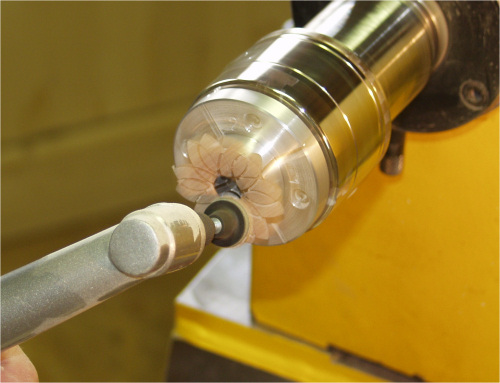
Now sand down the front. I use an electronic miniature angle grinder.
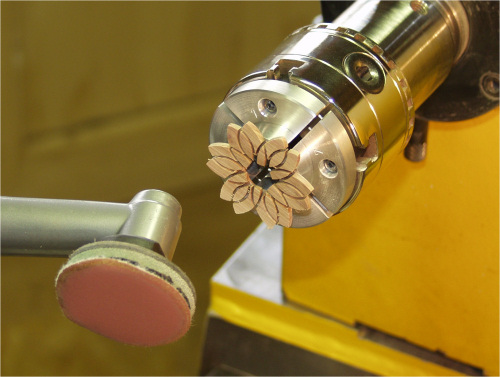
Sand the outer edge of the star down, so that the tips will become thin.
Be very careful. Make sure the sander will not catch.
Also sand the inside of the pendant to a round shape.
The final sanding will be done by hand with fine grit sandpaper
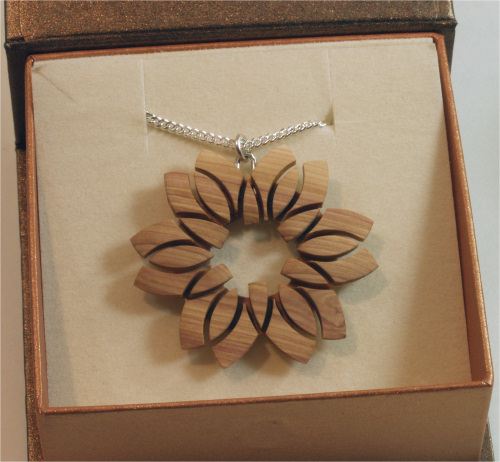
The final product.

The design of the pendant depends, where you position the spheres. On the image above I cut the larger sphere off center.
The result
The position and width of the ring holding the „separate parts“, will have an influence on the design of the pendant.
I will determine the position of the ring by measuring the front of the pendant with a caliper and mark the position on the back, by using a divider.
See the results above
Again, it is of importance that the tips of the star will sit tight on the outer edge.
Again, the sanding requires careful attention
Just leaving a smaller ring on the back, will change the design of the pendant.
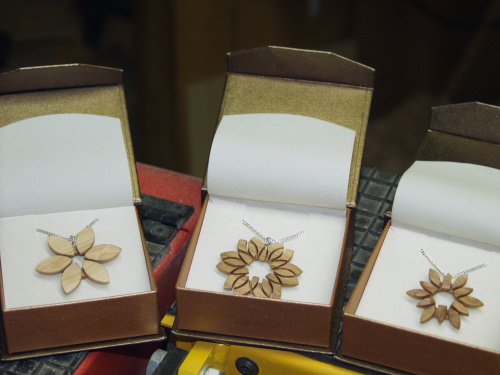
Drill a fine hole on the back ring of the pendant, clue in a pin with an eye, attach to a silver lace or a leather lace and place it in a box.
All three pendants were produced by using the same method. When turning the one to the left, I only cut one ring instead of two.
By changing numbers and position of the spheres and vary the holding ring, you significantly may change the design of the pendant.
It is not chiseled in stone that the pendant must have six tips. You may experiment and vary to change the design of the pendant.